
I haven’t used a steel needle in years. The reason for this is that from the very first time I made a bone needle, I fell in love with this ancient and versatile material. Bone needles are rare among archaeological finds; being an organic material and by nature quite delicate, they will simply disappear into the soil under most circumstances.
The number that do survive, when the conditions are perfect, suggest that many more went into the ground than are now able to be recovered from it. Eyed needles are among the clearest indicators where (and when) sewing was a craft carried out by our ancestors, among the earliest being, potentially, a fragment of one recovered from a cave in South Africa. Astonishingly, this object has been dated to around 61,000 years ago. Large-eyed needles could be used for netting, basket looping, simple sewing, and other applications. By the Neolithic, people started to sew cloth as well as skins together to make clothing and other useful objects.
Horn, antler, and bone – including bird bone – is fine enough to create a tool that is smooth and slender so as not to punch great holes into the material being sewn, but flexible enough so as not to be brittle.
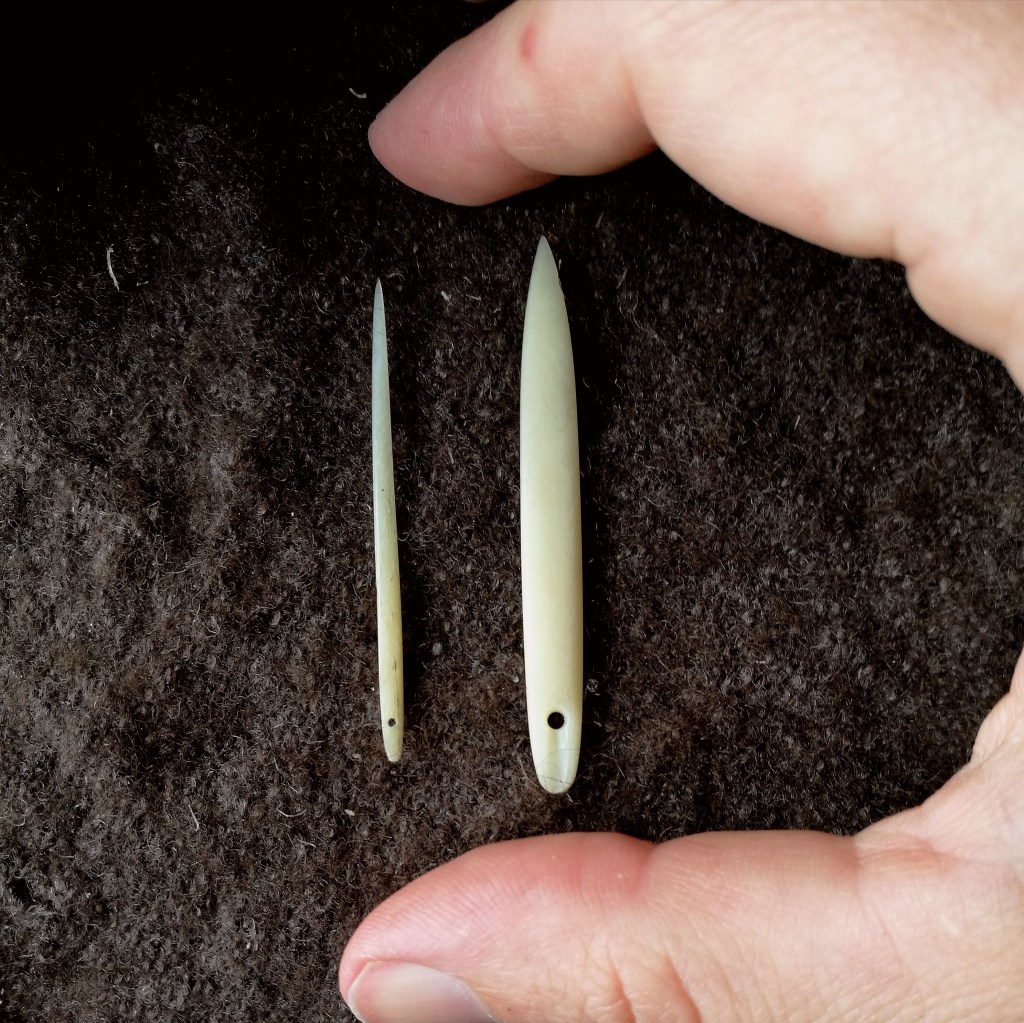
I like that a bone needle will push between the warp and weft of fabric, rather than punching through it, so the weave can close up around the sewing thread and sustain less damage than can be done with a standard modern steel needle. It has a lovely texture in the hand, with good grip, and will improve with use – every time it passes through your sewing material, it will get smoother and smoother.
The instructions below are to make a bone sewing needle using a few modern hand tools. Historical equivalents are possible. I’ve had great success with soaked antler, using flint blades and sandstone grinding stones. For this needle I’ve suggested lamb bone as it is very easy to come by. A single lamb dinner (shanks or leg) will give you enough raw material to make many needles and other trinkets. Part of the beauty of making your own tools like this is the opportunity to show respect for the animal by using more of it – nothing need go to waste.
How to make a bone needle
Materials and tools
- Lamb bone (such as from a leg or shank)
- Face mask
- Pencil
- Fine saw
- Pliers (optional)
- Vise (optional)
- Dremmel drill, hand drill, gimlet or awl
- Sandpaper in 80, 120, 240, 400, 600
- Strop or smooth leather strap (such as an old belt)
Instructions
- Boil the cleaned bone until any remaining material, such as marrow and cartilage, comes loose and you can wipe it clean. A good soak with some dish detergent will help degrease it. If the bone is whole, with no avenue of escape for marrow, saw off one joint end of the bone to aid with the cleaning process.
- Allow the bone to dry thoroughly, in the sun if possible to aid with bleaching.
- Work outside or near an open window and wear a mask. Bone dust is dangerous to inhale. Don’t skimp on this safety measure.
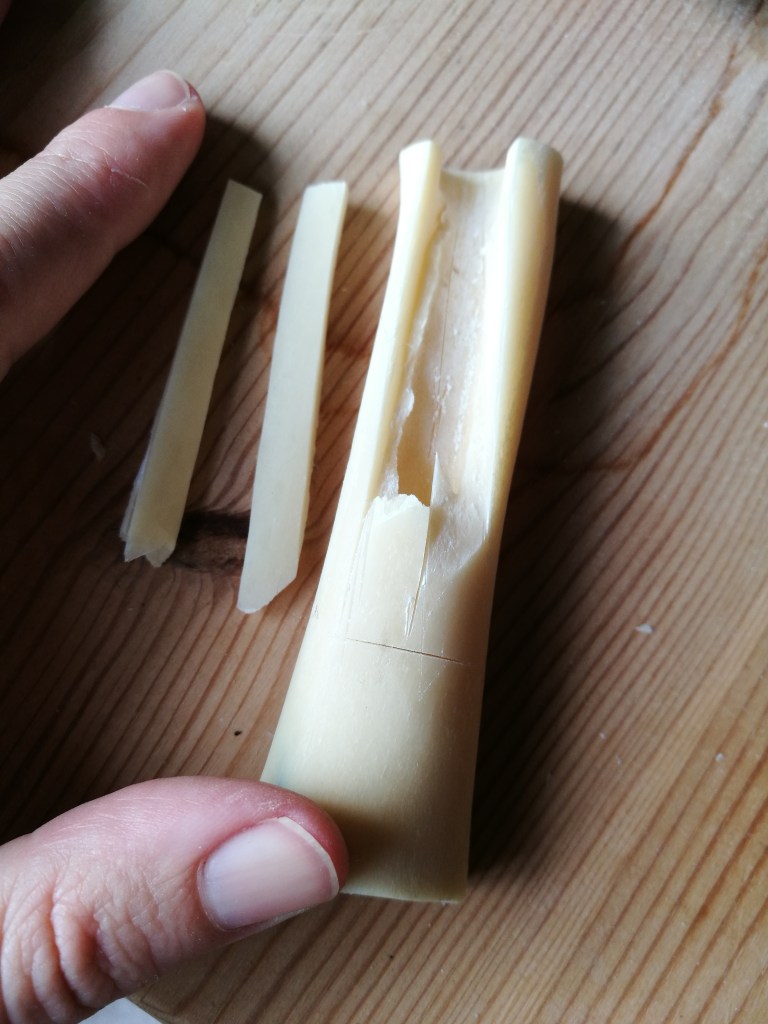
- Decide how large a needle you wish to make and start by creating a blank larger than you intend the finished needle to be – you can’t add bone later. Select a portion of the bone which is relatively straight, smooth, and free of butchery marks or artery holes (the nutrient foramen) and pencil in your blank.
- Brace bone in a vise if desired, and use saw to cut across and along bone to free the blank. It may be possible to score deep grooves in the bone and split it out using a pair of pliers, but be aware that the grain of the bone may cause it to split differently than intended. You can always adapt your plans to suit so as not to waste your time and materials.
- Let the shape of the bone blank help you decide on the final shape of the needle. Decide which end will be holed and which pointed. Pencil in the overall shape.
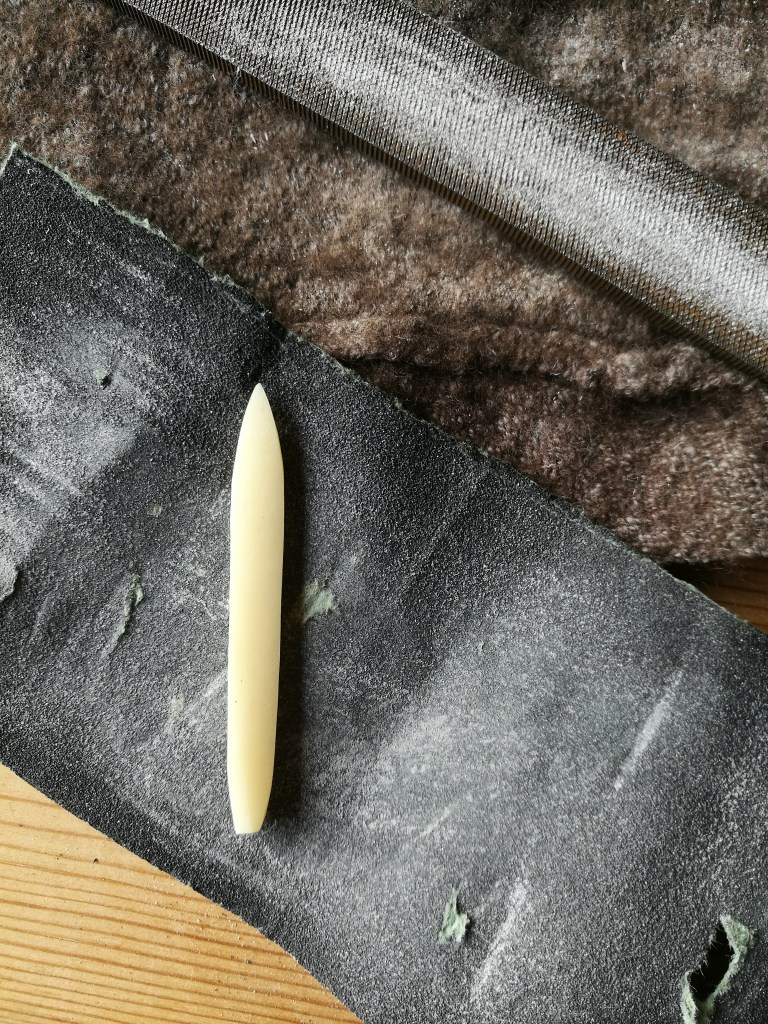
- Starting with a file or coarse sandpaper, begin refining the shape. Do not over-sharpen the point at this stage to avoid accidental breakage and finger-pokies. Remember to smooth down its broad sides as well as its profile. Take your time with this, pausing often to look at the overall shape.
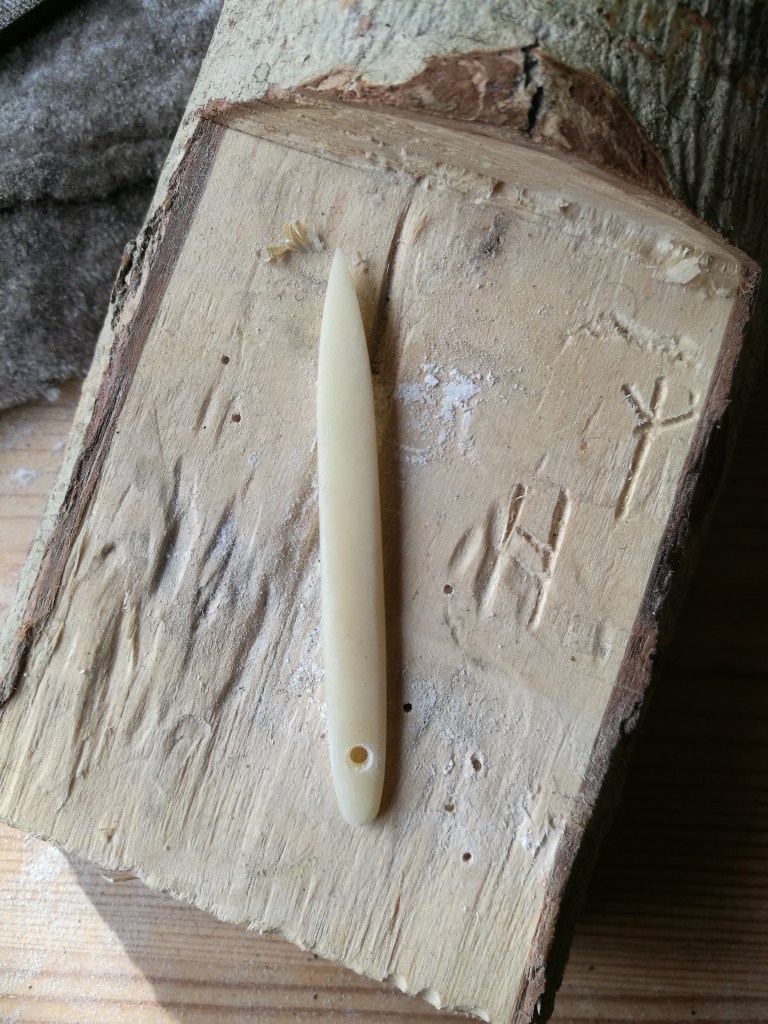
- When you are satisfied with its general shape, but before spending too long on refinement and polishing, drill the hole. Start with the finest drill bit or awl or other boring tool and then widen its volume afterwards until the desired hole eye volume is reached. You may wish to have a scrap of the sort of yarn or thread you intend to use with this needle on hand, to check that it can be easily passed through the eye (camel-like). If the needle cracks at this stage, snap off the broken end and try again on your new, shorter needle. If it’s just not working, begin again with a broader blank and drill the hole before sanding the needle very fine.
- Once you are satisfied with the eye, continue refining the shape. Fine sandpaper, used wet, will reduce dust and produce a beautiful result. Sharpen the point last, as this needle will easily pass through sandpaper and your fingertip if you are not careful.
- For a mirror polish, finally rub all sides of the needle, dry, on a strop or other piece of polished leather, such as an old belt. It will only take a few passes for the lustre to really come out, if you have sanded it well by this stage.
Backwell, L; d’Errico, F; Wadley, L (2008). “Middle Stone Age bone tools from the Howiesons Poort layers, Sibudu Cave, South Africa”. Journal of Archaeological Science. 35 (6): 1566–1580. doi:10.1016/j.jas.2007.11.006
